Basic Commands
From Computing and Software Wiki
Contents |
World Editor Layout
This is the place for edit a existing world. A menu bar on the top give different options while editing the world.
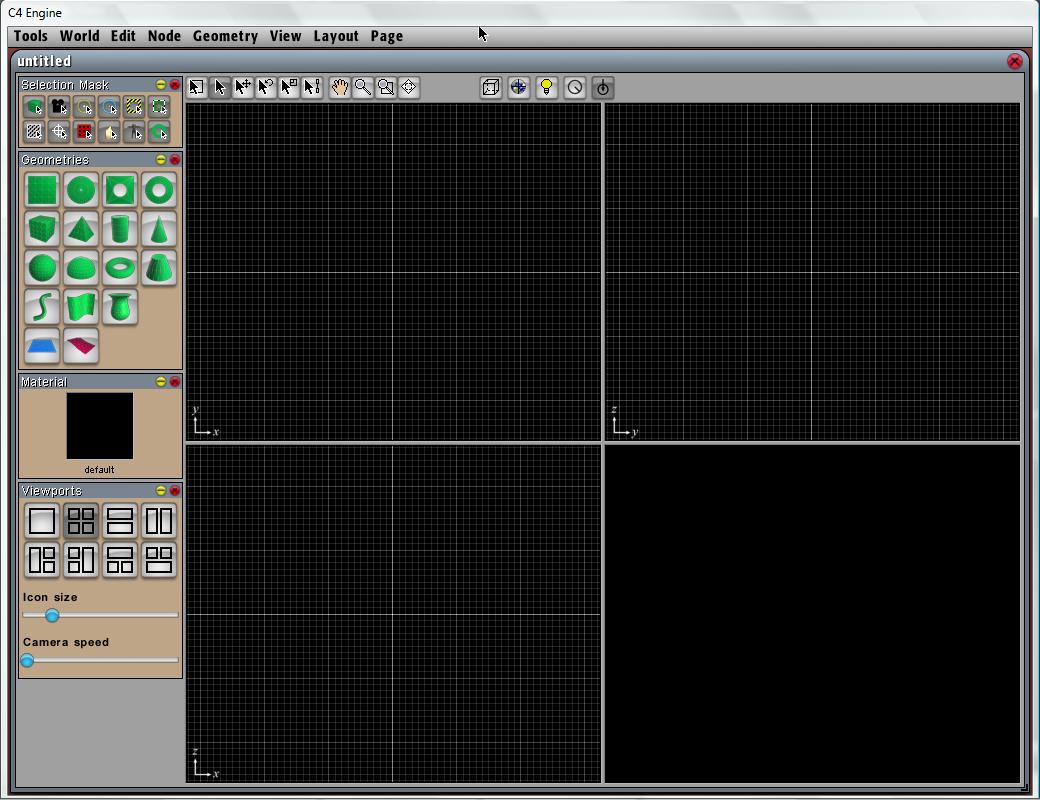
On the left hand side of the world editor dialog, it shows Pages. Top of world editor shows Tool and Toggle buttons and the rest of it is Viewports of the world
Tool and Toggle Buttons
Tool and Toggle buttons locate the top of world editor dialog
For Tool buttons, from left to right are the following:
![]()
- Box Select Nodes - Selects all nodes that intersect the rectangle that is dragged out
- Select Nodes - Selects the one node that is clicked on. The Shift key can be used to add to or subtract from the current selection.
- Move Nodes - Works just like the Select Nodes tool, except that dragging the cursor moves the selected nodes
- Rotate Nodes - Works just like the Select Nodes tool except that handles appear on selected nodes. Dragging a handle rotates the selected nodes. The Shift key can be used while rotating to enable angle snap
- Scale Nodes - Works just like the Select Nodes tool except that handles appear on selected nodes
- Connect Nodes - Works just like the Select Nodes tool except that connectors appear on selected nodes (if they have any)
- Scroll Viewport - Dragging with this tool pans the viewport
- Zoom Viewport - Dragging vertically with this tool zooms in and out of a viewport
- Box Zoom Viewport - A viewport is zoomed to the rectangle dragged out by this tool
- Free Camera Move - (This tool can only be used in perspective viewports.) When the mouse button is held down with this tool, the WSAD keys can be used to fly the camera around forward, backward, left, and right. The Space and C keys move up and down
For Toggle buttons, from left to right are the following:
![]()
- Toggle Backfaces - Shows or hides backfaces for geometries in wireframe display
- Toggle Referenced Worlds - Shows or hides worlds that are externally referenced by marker nodes
- Toggle Lighting - When active, full lighting is rendered in perspective viewports
- Draw from Center - When active, many tools operate in relation to the center of a node instead of the opposite corner
- Cap Geometry - When active, new geometries include end caps. When inactive, only lateral surfaces are created
Pages
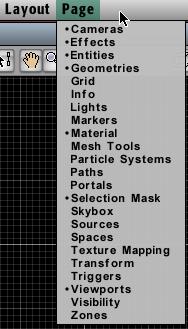
A page is one of the palette-like subwindows shown on the left side of the World Editor. Most of them are not visible by default when a new world is created. An invisible page can be shown by selecting it from the Page menu. The pages can be rearranged by dragging them upward and downward by their title bars.
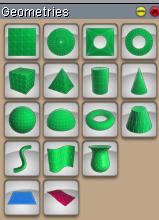
- Geometries - Used to place primitive geometries in the scene
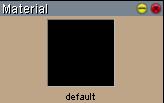
- Material - Displays the current material that is applied to new geometries
- Selection Mask - Toggle buttons that determine what types of nodes can be selected
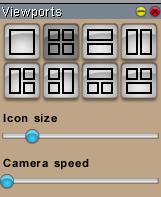
- Viewports - Contains buttons that change the viewport layout
- Cameras - The single tool in this page places a frustum camera in the scene
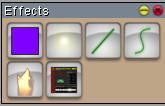
- Effects - Used to place various special effects in the scene
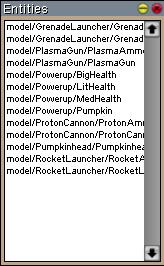
- Entities - Shows a list of registered entity type
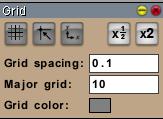
- Grid - Controls for grid settings
- Info - Displays information about the node to which the gizmo is currently assigned
- Lights - Used to place light sources in the scene
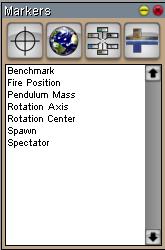
- Markers - Used to place marker nodes in the scene
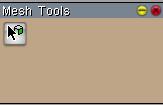
- Mesh Tools - Contains a single tool that selects individual surfaces on a mesh
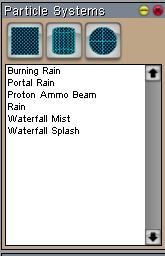
- Particle Systems - Tools for placing emitters in the scene. It also shows a list of registered particle system types. A particle system can be placed in the scene by selecting one from the list and then clicking in a viewport at the location where you want to place it
- Paths - Tools for drawing paths
- Portals - Tools for placing portals in the scene and also contains tools for inserting and removing vertices from portals.
- Skybox - Tool for placeing a skybox node in the scene
- Sources - Used to place sound sources in the scene
- Spaces - Used to place various types of spaces in the scene
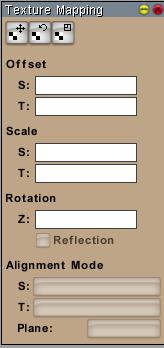
- Texture Mapping - Tools for offsetting, rotating, and scaling texture coordinates
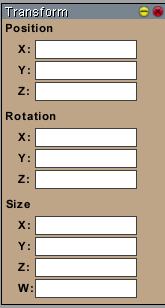
- Transform - Lets you change the position, rotation, and size of a node numerically. The transform is shown for the node to which the gizmo is currently assigned
- Triggers - Used to place trigger volumes in the scene
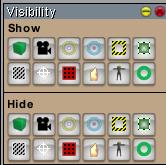
- Visibility - Contains buttons for showing and hiding nodes by type
- Zones - Used to place zones in the scene and also contains tools for inserting and removing vertices from polygon zones
Viewports
The World Editor displays one to four viewports at a time, but manages eight separate viewports internally. The visual configuration of the viewports can be changed using the buttons in the Layout page. The eight viewports are the four quarter-size viewports and the four half-size viewports (two horizontal and two vertical) of which at most four are shown in any multi-viewport configuration. Any viewport can be shown by itself at full size by typing Ctrl-n (or Cmd-n on the Mac), where n is a number between 1 and 8, or by selecting it from the Layout menu. Typing Ctrl-n again when viewport n is shown at full size returns to the previous multi-viewport configuration.
There are three types of viewports: orthographic, perspective, and scene graph. Orthographic viewports can display the scene from one of six directions corresponding to the positive and negative x, y, and z axes. The type of each viewport can be changed by right-clicking in a viewport (or Ctrl-clicking on the Mac) and selecting a new viewport type from the popup menu that appears.
The scene graph viewport is a special viewport that displays the scene hierarchy. All of the nodes in the scene are displayed in a tree that represents the actual structure of the scene. Subtrees can be collapsed or expanded by clicking on the collapse boxes between the various levels of the hierarchy. In a scene graph viewport, the Select and Move tool provides the capability to reparent nodes. The currently selected nodes can be reparented by dragging them to another node that will serve as the new parent. (Nodes cannot be reparented to any of their descendants.) [1]
Gizmo
The gizmo is a control that appears for one of the selected nodes. It shows the orientation of the node's local axes in red, green, and blue for the x, y, and z directions, respectively.
When the Select and Move tool is in use, the arrowheads on the axes can be dragged in any viewport to move the node along the corresponding direction.
The gizmo assignment can be iterated through the nodes in the current selection by pressing the Tab key.
Reference
[1] http://www.terathon.com/wiki/index.php?title=World_Editor_Overview
